Sunday, July 1, 2012

How to make your own cloth diaper soaker

I made these soakers with Katrina's quick sew soaker pattern. I "up-cycled" pajamas, blankets, and used store bought fleece. I am happy with the results. It is super easy.   Just click on "new soaker pattern" and print that puppy out. Dont forget the "Extra layer for the wetzone" print out too. Cut to the size you need, it always helps to measure your child to find the best fit.  Thanks Katrina for sharing your free, printable, soaker pattern.

http://katrinassqs.blogspot.com/2007/10/free-soaker-pattern.html
*Print out the soaker pattern and cut out the size you need. Trace it out on your fabric, making sure to flip the pattern over, so you get a full sized pattern, or cut it on a fold.


*Sew together the crotch portion from the front and back of the pattern, I use the zigzag stitch along the edge. And sew in the extra wet zone soaker to the crotch area. (Micture missing, I will take a pic and add it when I make my next soaker, so sorry)

Next, sew together the hip sides.

Take the waist band and fold it in half, so it's long and skinny. Sew it shut, then sew the edges closed to make a circle. I still use the zigzag. Repeat this step with both leg bands.


 You can zigzag the edges if you would like, you do not have to. You can leave all your seams as they are above.


  (^^ I can hear my High school sewing teacher in my head "Remember to cut your strings, Ladies". cut those off, it makes for a less tacky diaper, or anything that you venture out to make)


Place waistband and leg bands into the holes, making sure its right sides together. Pin each band in the center and both sides. Then zigzag stitch around them all. Make sure to stretch the bands, they are smaller than the actual diaper part. Dont stretch the actual fabric of the diaper. You want to avoid any puckering (puckering is where you have too much fabric and it bunches up at the very end) so stretch the band well, so it can evenly meet up when you come to each pin.


Turn inside out and put over a fitted diaper, flats, prefolds or old tshirts that have been recycled into a form of diaper.


REMEMBER: This is just a diaper. It does not have to be perfect. Don't feel down if your first few diapers are not 'perfect'. Practice makes perfect, or thats how the saying goes. Just use the ones you arent so confident about at home. You can double up on the extra soaker in the crotch part, you can also make this out of wool.
thank you for checking this out : )

Friday, June 29, 2012

Let's play catch up.

So, this has been one long week! Last weekend I was out shopping for groceries and grabbed a few supplies to make some stuff for an awesome workshop called 'green on a shoestring'. It was a free workshop to teach people about being more economical. Topics were about: healthy eating/cooking, making your own home products basically from laundry detergent- toothpaste, buying cloth diapers, health- which was about making your own natural medicines and then my topic: making cloth diapers and everything about the babies bottom care. It was an awesome event, I wish I were able to mingle around to check out the tables, but a handout of tons of recipes were printed inside. That makes me so happy! It was such a benefit to get that handout and to meet a bunch of super friendly people thinking about venturing into or back into the cloth diaper world.
Just to have people come up to my little station open minded to learn about cloth was great. No, honestly just to have them get dressed and come out to the event was awesome!
Here is the only downfall. My internet has been down since Tuesday morning. It should be all fixed by tomorrow afternoon, but I met a bunch of people who wanted to follow my blog to learn more about cloth diapers and making them. I typed out an entire blog on how to make your own shorties, I even video taped a bunch of it for a video to add. I didn't want to publish my blog about making a diaper when I couldn't go online to edit it and move the pictures to the proper areas. (I normally blog on my phone while nursing johnny, then I jump on the comp to edit it). So I apologize for keeping you waiting.
Also, since I am new to blogger, I'm not sure how to edit everything on my blog page. I need to figure out how to add a "follow" button when my computer is turned back on.

I've been working on being a firm mom the last couple of days with hunter because he is so stubborn with stuff, it's my fault he is. It's been very time consuming following through with being stern, but it's starting to work. I will leave all that for another blog.
Today our home insurance people sent out a stove repair guy. He decided we need new back burners, so we get new burners next week. I also decided Friday is my kitchen deep clean day, so I seriously scrubbed it down hard with baking soda and vinegar. Spotless kitchen. I still need to mop the floors. Johnny figured out how to turn on the stove burners O.o instead of buying a stove cover, I removed the knobs and we can put one back on when we need to cook. ..
I'm going to enjoy some coffee while little man sleeps and big man plays in his pool and splashes me. It's so hot outside, but the breeze on the water droplets feels so refreshing.

Monday, June 25, 2012

{Homemade} Diaper rash cream

I started making a diaper rash cream and I LOVE it!! I just love coconut oil in every way, and I love how it works with the beeswax, and I love even more so that *I* made it. Plain coconut oil is just as good, but I wanted to play around a little bit. 

      It is really hard to give a price estimate on some of these homemade products. Why? It is because you get a lot of use out of every product you buy. Pictured below: coconut oil, I will probably get to use it for 50+ things I make. The beeswax is good for another 5-10 things I can make. The lavender oil will last for hundreds, if not thousands of things I can make. The brown jar is for storage. It is extremly cost effective to make your own products. I also enjoy knowing that there is nothing else added to the stuff I make. No parabens, carcinogens, and nasty things.

5 tablespoons beeswax
4 tablespoons coconut oil
Vitamin e gel cap

Using a double boiler, or a pan of boiling water with a bowl inside (as pictured) to melt your coconut oil and beeswax without burning it.

  Once melted, place some on a teaspoon and put in refrigerator for 3 minutes.

 It will harden to its finished consistency. Check the cream by touching it, try pulling some away.


Make it as thick or thin as you like. Thicker = more beeswax. Thinner = more coconut oil .

If it is as thick as you would like, remove from heat, mix in gel cap and pour into container. Liquid will solidify.


This makes roughly 5 ounces. Keep in any container you wish.


{homemade} cloth wipes, toilet paper and paper towels

Have you ever considered using cloth wipes "family cloth" instead of toilet paper? How about flannel "un-paper towels" instead of paper, paper towels? It's not as bad as it sounds!
I was curious about making the switch because I already used homemade cloth flannel baby wipes. I loved the cloth wipes. I decided to get A couple of yards of tie dyed flannel and made 5X5 inch square wipes. I wash them with my diapers. I prefer using these instead of paper.

Just toss them into a waste basket, and when it's time to wash them, toss them in the wash. Give them a warm pre-rinse with 1/4 cup baking soda, we have to use the "extra rinse" option for this. then run a full heavy load with detergent and an extra rinse.

How I made mine:

1 yard flannel fabric
Scissors
Pins
Sewing machine
Marker

Cut out 9x9 squares and sew them right sides together. Right sides would be the nice side, yes, you will be sewing it inside out.


Sew all 4 sides, but leave a 3 inch gap, so you can turn the fabric right side out


Once fabric is turned right side out, you can take a needle and pull out the corners of the wipes.

Iron the wipes, make sure to turn in the un closed gap and then sew all the way around the 4 sides. (you can see the open gap on the bottom of the picture below, when you turn that in and stitch the sides, it will close.)

VIOLA!!! All done. (the smaller wipes are 5X5 and are hand and face wipes for the kids. The hand and face wipes look just like "family cloth" toilet paper.

To make "un-paper towels" you need 11x11 inch squares. Have a basket in the kitchen for your new earth friendly non paper, un paper towels :D a cute design would totally spruce up your kitchen decor too.


{homemade} cloth diaper detergent


1 cup super washing soda
1 cup baking soda
1 cup borax
1 cup sun oxyclean

Mix together.

Use 2-4 tablespoons for top loaders
1-2 tablespoons for Front loaders

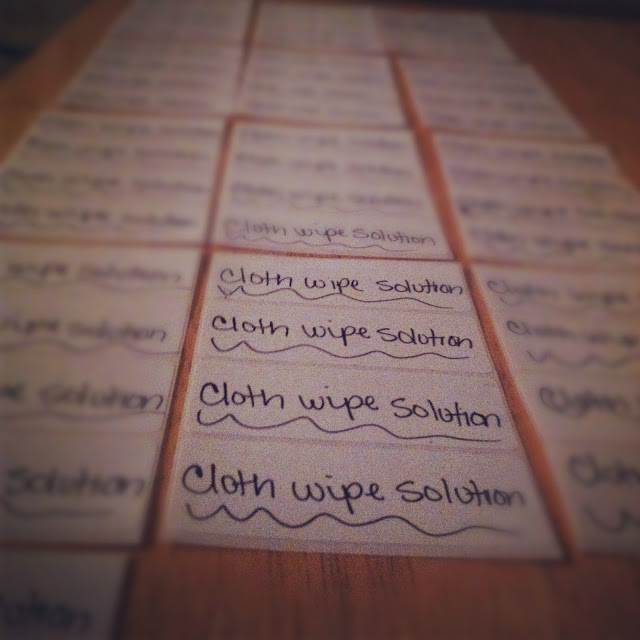
{Homemade} cloth wipe solution

Today I made 40 samples of this stuff for a workshop on how to save money and still be "green", organic, and make things yourself. So I will make this short and sweet, it's an easy recipe.

1/2 pint HOT water
2 tbsp coconut oil
1/2 tsp apple cider vinegar
8 drops lavender oil
8 drops tea tree oil

*mix all the ingredients. I said to use hot water, just so it melts the coconut oil down whole you mix it all together. Once mixed pour into a regular wipes container and keep your wipes inside of it, change it every few days or when it starts to smell musky. You can also store it inside of a glass bottle.
The coconut oil may solidify. Just run under hot water, sit in a sunny windowsill, shake it up.

I personally love this solution. It smells {AMAZING}. I tend to put my cloth wipes inside of my cloth diaper after a change and the diapers come out of the washing machine smelling like tea tree oil and lavender oil. But I love how oily the solution is, It is easy to glide the wipe over the baby's skin and it also keeps their skin protected from wetness.

**this IS cloth diaper safe.

{Homemade} laundry detergent recipe

•1/3 bar soap (dr.bronners, fels naphtha, ivory, zote)
•1 cup washing soda
•1 cup borax
•2 gallons water
•bucket with lid
•essential oils (optional)

1) grate bar soap and place in a saucepan.
2)Add 6 cups hot water and heat on low heat until dissolved.
3)Add washing soda and baking soda, stir until dissolved. (this would be a great tome to add your favorite essential oil)
4)Remove from heat.
5)Pour 4 cups hot water into a bucket and add the soap mixture
6) add 1 gallon & 6 cups water.
7) stir.

Let sit for 24 hours to gel up. Use 1/4 cup per load . Only a 1/4 cup. It works great.